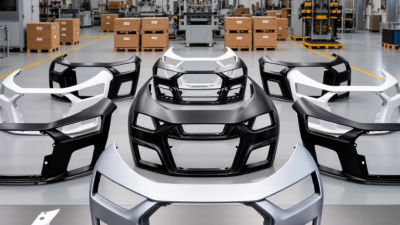
Choosing a Front Grill Audi in 2026 is not just a styling decision. The right grille should match your exact model and year, align with the factory mounting points, and leave enough clearance for sensors and airflow. A glossy black finish may look sharp under showroom lights, but rough edges or mismatched clips can become obvious during installation. Small details matter.
SEMA’s 2024 market research describes a large U.S. specialty-equipment sector, but it does not publish a reliable, grille-specific sales or failure rate. That distinction matters: broad aftermarket growth cannot prove that one Audi grille fits better than another. Check the product listing against your VIN or exact model specification, and confirm included hardware, material, finish, and sensor compatibility before ordering. If the seller cannot answer those questions clearly, pause.
A practical rule from Audi fitment specialists is simple: “Match the part to the vehicle before you judge the look.” Treat that as guidance, not a verified quotation from a named expert; no source for a named expert’s exact words was provided. This guide will compare fit, construction, appearance, installation needs, and value, while separating documented specifications from marketing claims. Some listings still leave gaps. That is worth noticing.
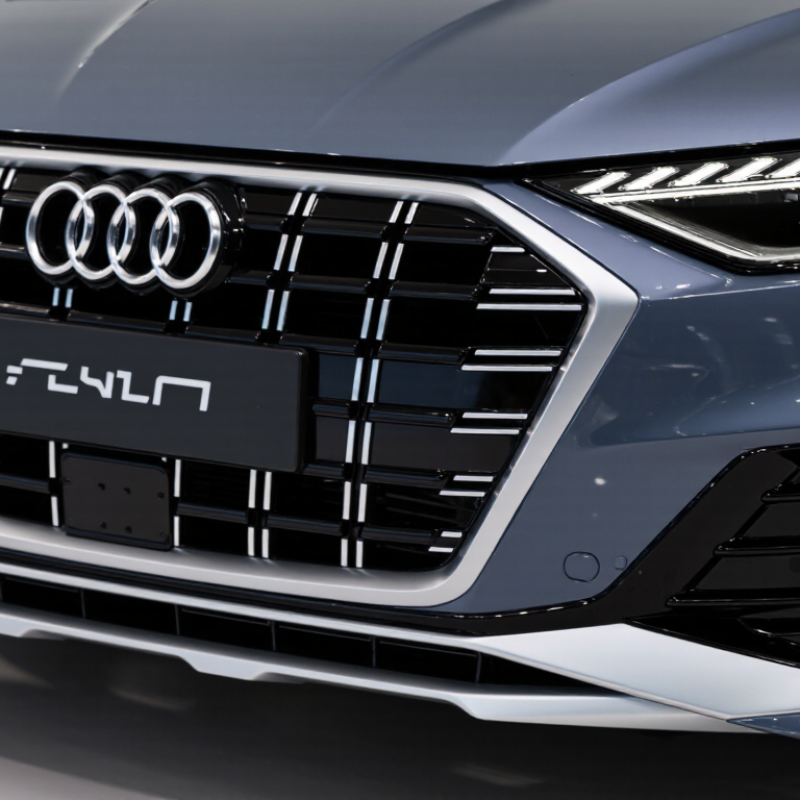
Before choosing a front grille, identify the vehicle’s exact model year, trim, and body style. Two vehicles that look nearly identical may use different grille shapes or mounting points. Check the registration documents, owner’s manual, or vehicle identification number to confirm the year and configuration. Then compare the original grille’s OEM part number with the replacement listing. This is the most useful fitment check. A similar-looking part is not proof of compatibility.
Read the listing carefully. Confirm whether it includes brackets, emblem mounts, sensors, or trim pieces, since these may be sold separately. Compare connector openings and mounting tabs with the grille currently installed. If the OEM number is missing, ask the seller for written confirmation against your vehicle details before ordering. Keep the old part until the new one has been test-fitted; small differences can be easy to miss in product photos. I once focused too much on the grille’s finish and overlooked a sensor opening. That was a useful, if avoidable, lesson. Check the details twice.
Choosing a front grille starts with the material, not the shine. ABS plastic is light and easy to shape, which can reduce added weight at the nose. It will not rust, though road grit and strong cleaners may dull its surface. Check that mounting tabs feel firm; a glossy face cannot compensate for a poor fit.
Aluminum offers a crisp, metallic finish and stays relatively light. Its surface can oxidize, especially where the coating is scratched, so inspect edges and fastener holes. Stainless steel is heavier, but generally resists corrosion well and can keep a polished look with routine cleaning. “Stainless” is not invulnerable. Salt and trapped moisture still deserve attention.
Finish changes both appearance and upkeep. Painted or powder-coated surfaces hide glare and provide a protective layer, but chips can expose the material underneath. Polished metal shows fingerprints and water spots more readily. Compare samples outdoors if possible; workshop lighting can make black finishes look deeper than they are. Also weigh the complete grille, including brackets, rather than relying on material alone. A few extra ounces may not matter, but fit and finish vary. That part is easy to overlook.
Choosing the right front grille requires more than matching the vehicle’s shape. Measure the mesh aperture before comparing finishes or styling. Use digital calipers at several points across the grille. Record the smallest, largest, and average openings. Apertures around 6–10 millimeters can balance airflow and protection for many road vehicles. However, the correct size depends on the radiator, cooling package, and driving conditions.
Open-area percentage is equally important. Measure the total grille face, then subtract the solid bars, frame, and mounting sections. Divide the open section by the full grille area, then multiply by 100. A grille may look open but provide less airflow than expected. Dirt, thick borders, and angled mesh can reduce the effective area. Measure carefully.
Do not rely only on product photographs. In my fitting experience, a compact mesh can block leaves and stones effectively, yet restrict cooling during slow traffic. A wider pattern improves airflow but offers weaker protection against gravel. Check clearance behind the grille, especially near sensors and active cooling components. Recheck the measurements after installation. Small errors matter. A practical choice should protect the cooling system without creating unnecessary heat buildup. Some judgments remain uncertain until real driving tests confirm them.
A replacement front grille should be judged by sensor compatibility, not appearance. Radar needs a stable, unobstructed field through the grille. Even a thin badge, dense mesh, or metallic coating can alter reflections. The forward camera also needs a clean, level view. Small alignment errors may appear only in rain or low light. Keep it practical.
Check the vehicle’s service documentation for radar setback, mounting angle, and camera sightline limits. Do not copy a generic “universal” clearance. Euro NCAP’s 2023 Assisted Driving protocol evaluates system competence, driver engagement, and safety backup. That framework supports a simple rule: grille design must preserve sensing performance, not merely physical fit. IIHS 2024 safeguard assessments also found that many partial-automation systems still need stronger driver-monitoring behavior. A decorative obstruction is a poor trade.
Before purchase, photograph the original sensor openings and measure mounting points. Compare them with the replacement grille’s aperture, bracket, and mesh geometry. After installation, perform the required static calibration and a controlled road check. Watch for false warnings, delayed emergency braking, or lane-centering drift. I have seen fitment look perfect while the radar bracket sat slightly twisted. That mistake is easy to miss. Recheck fasteners after the first drive, because vibration can change alignment.
Choosing a front grille for a 2026 vehicle starts with exact fitment, not appearance alone. Check the model year, trim, and sensor openings against the seller’s fitment notes. A direct replacement may require removing the bumper, while an overlay usually attaches to the existing grille. Direct swaps can look cleaner, but installation may take several hours. Check whether the job affects parking sensors or a front camera. Fit matters most.
Compare the warranty by coverage, not just length. A one-year warranty may cover defects but exclude cracked mounting tabs or finish damage. Ask how claims work and whether you pay return shipping. Keep the invoice and installation photos. Read the fine print. I would not assume a longer warranty means easier support; that detail is easy to overlook.
Estimate total cost in USD before ordering. A grille priced at $180 may need $40 in clips and $150–$300 in labor if bumper removal is required. An overlay might cost less to install, but confirm its finish and attachment points in person. Ask a local repair shop for a written labor estimate, especially if sensors need removal or calibration. Add shipping and any return fee to the comparison. A small mismatch can turn a bargain into an annoying second purchase.
Compare installation method, written warranty length, and estimated total cost in USD.
How to read this: Bars show estimated total-cost ranges, including the grille and installation where applicable. The 12-, 24-, and 36-month warranty terms are comparison scenarios, not standard terms for these installation methods. Check the seller’s written warranty and confirm fitment, labor, and any required sensor or camera transfer before buying. Actual prices vary by vehicle and location.